White label
Brand your reports with your logo and colours
Put your agency's logo, name, colour and contact details on every report link you share, so clients see your brand, not Glocavo's.
Updated October 11, 2026 · 4 min read
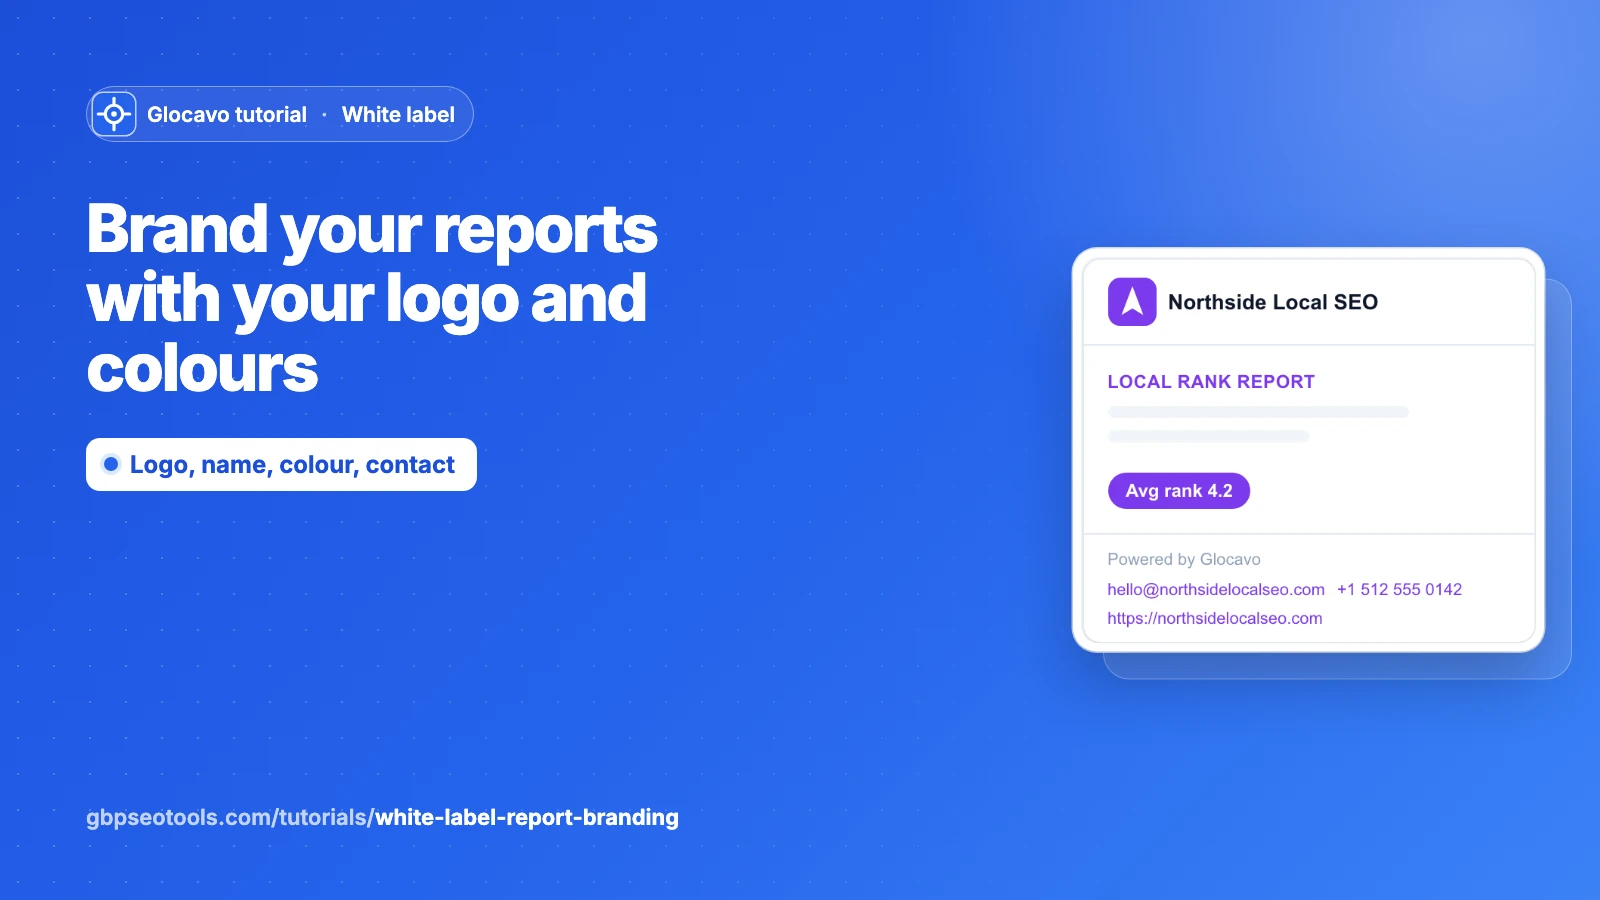
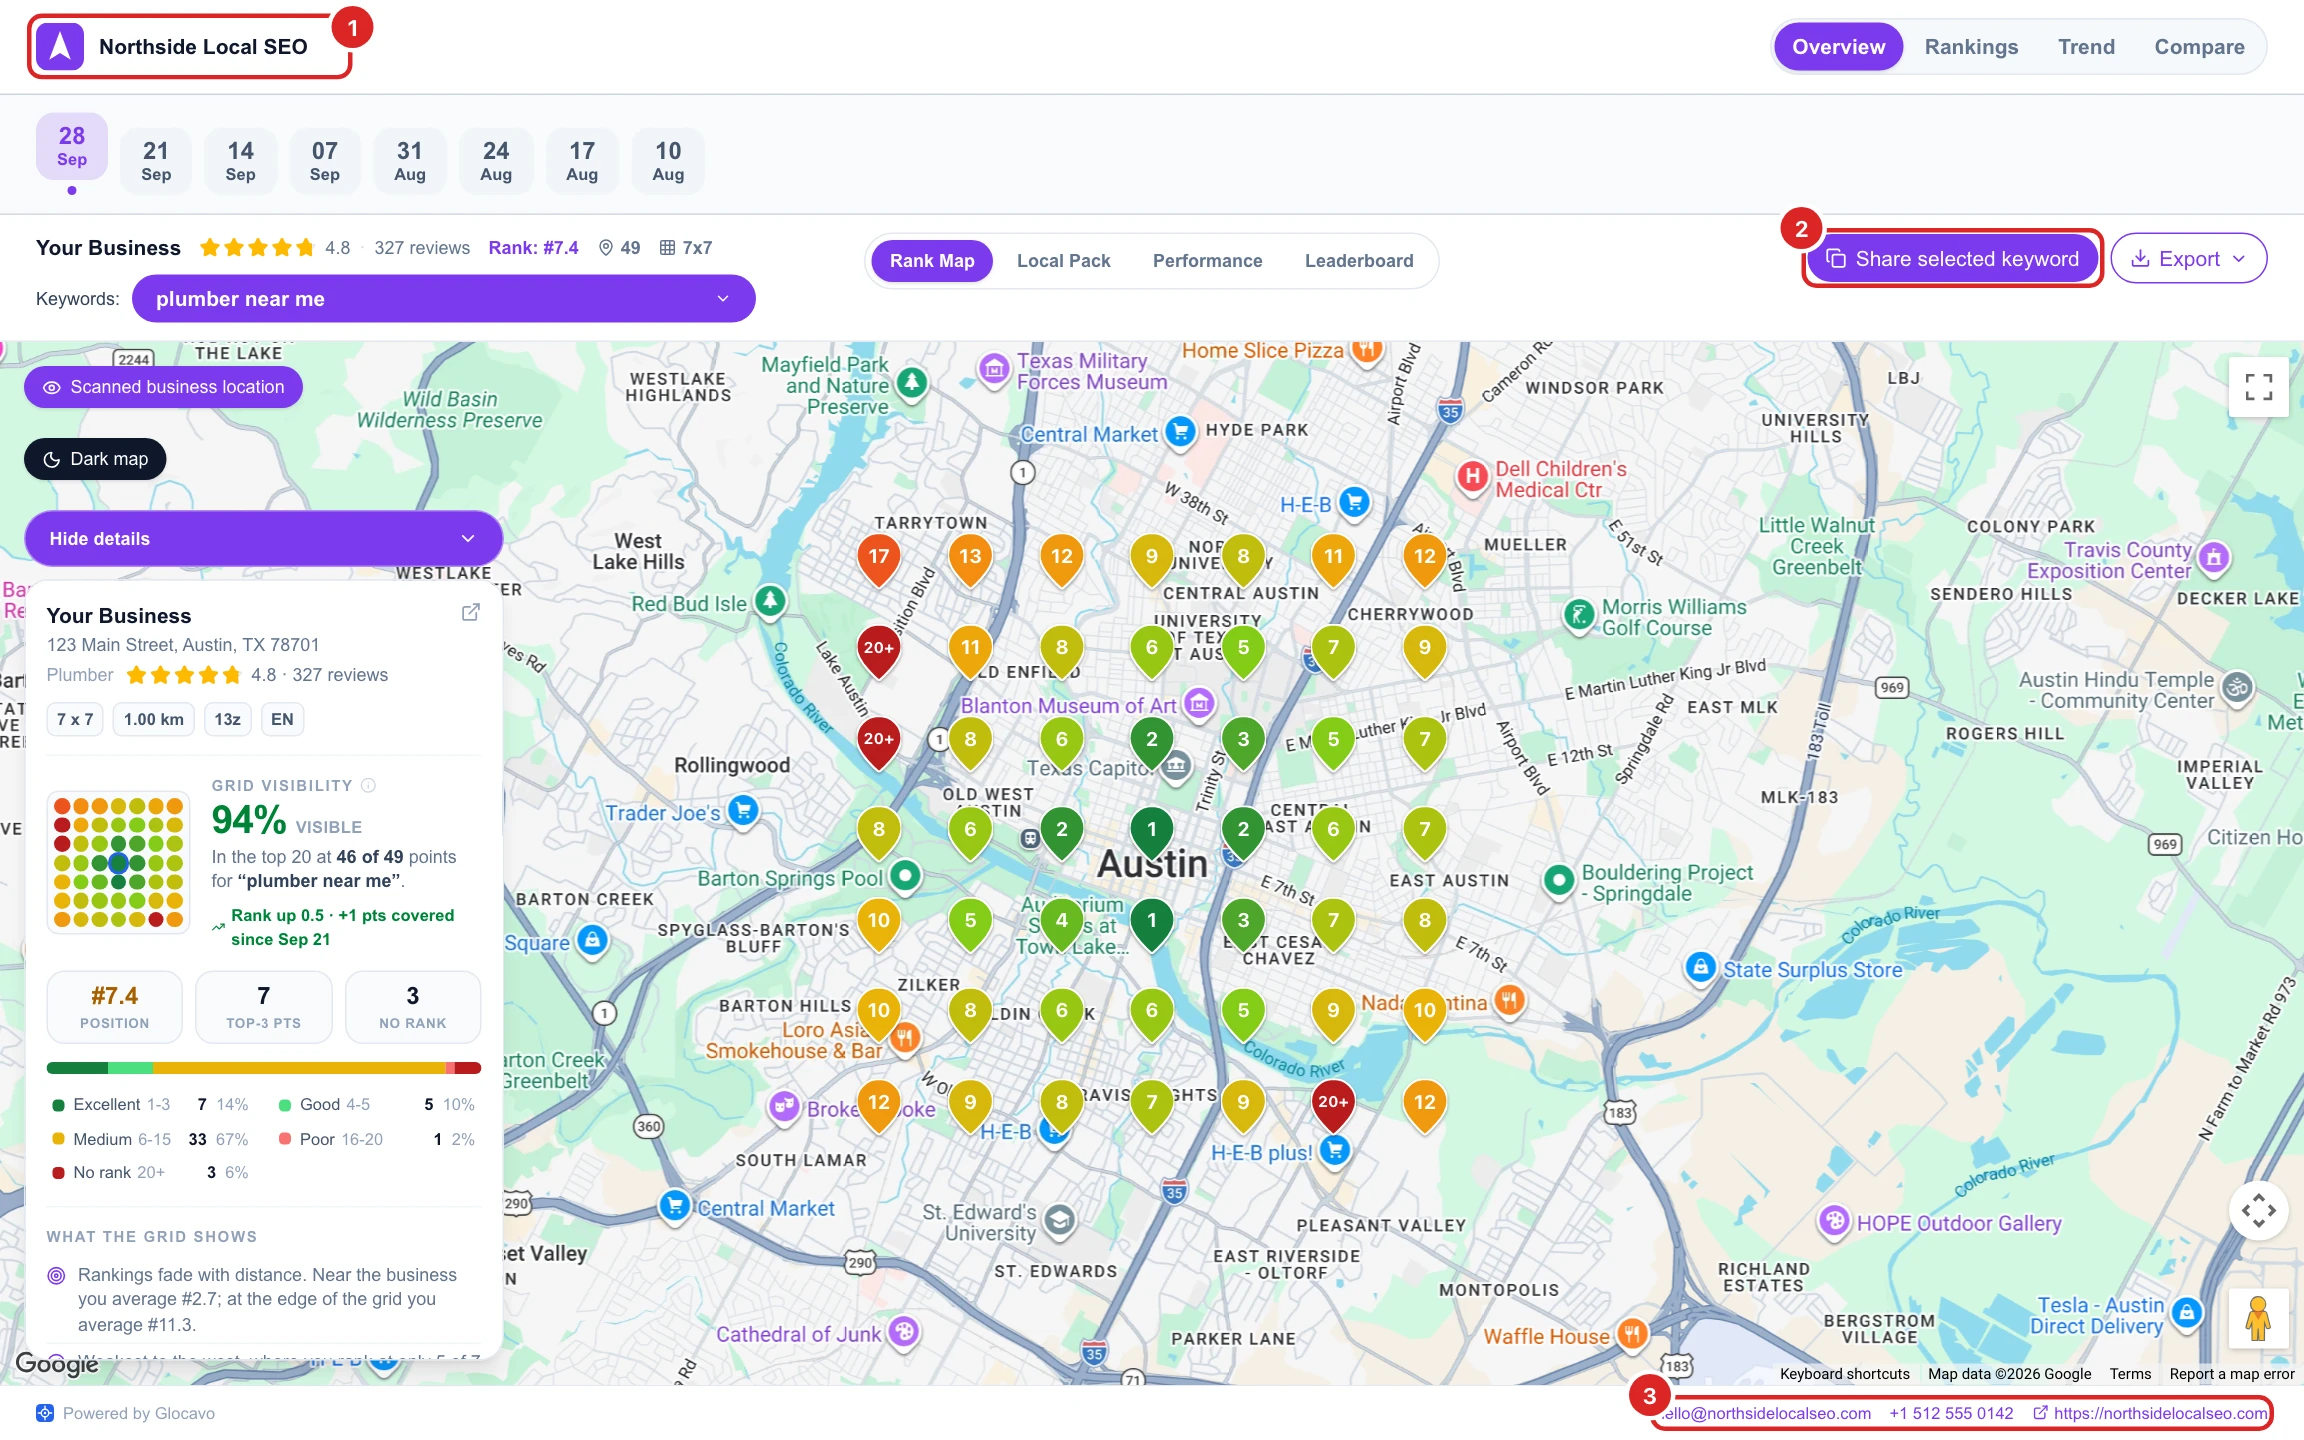
When you send a client a report link, it shows Glocavo’s name and colours by default. With report branding it shows yours instead: your logo and name at the top, your colour on the buttons and charts, and your email, phone and website at the bottom. Your client doesn’t need an account to open it.
The screenshots use a made-up agency, Northside Local SEO.
- Where
- White label → Report branding.
- Who
- The workspace owner, on the Studio or Agency plan. Teammates can see the settings but not change them.
- Applies to
- Every report link shared from this workspace: rank reports and AI Visibility reports.
Open White label and switch it on
Click White label in the sidebar, under Workspace. On the Report branding tab, tick Show my branding on shared reports.
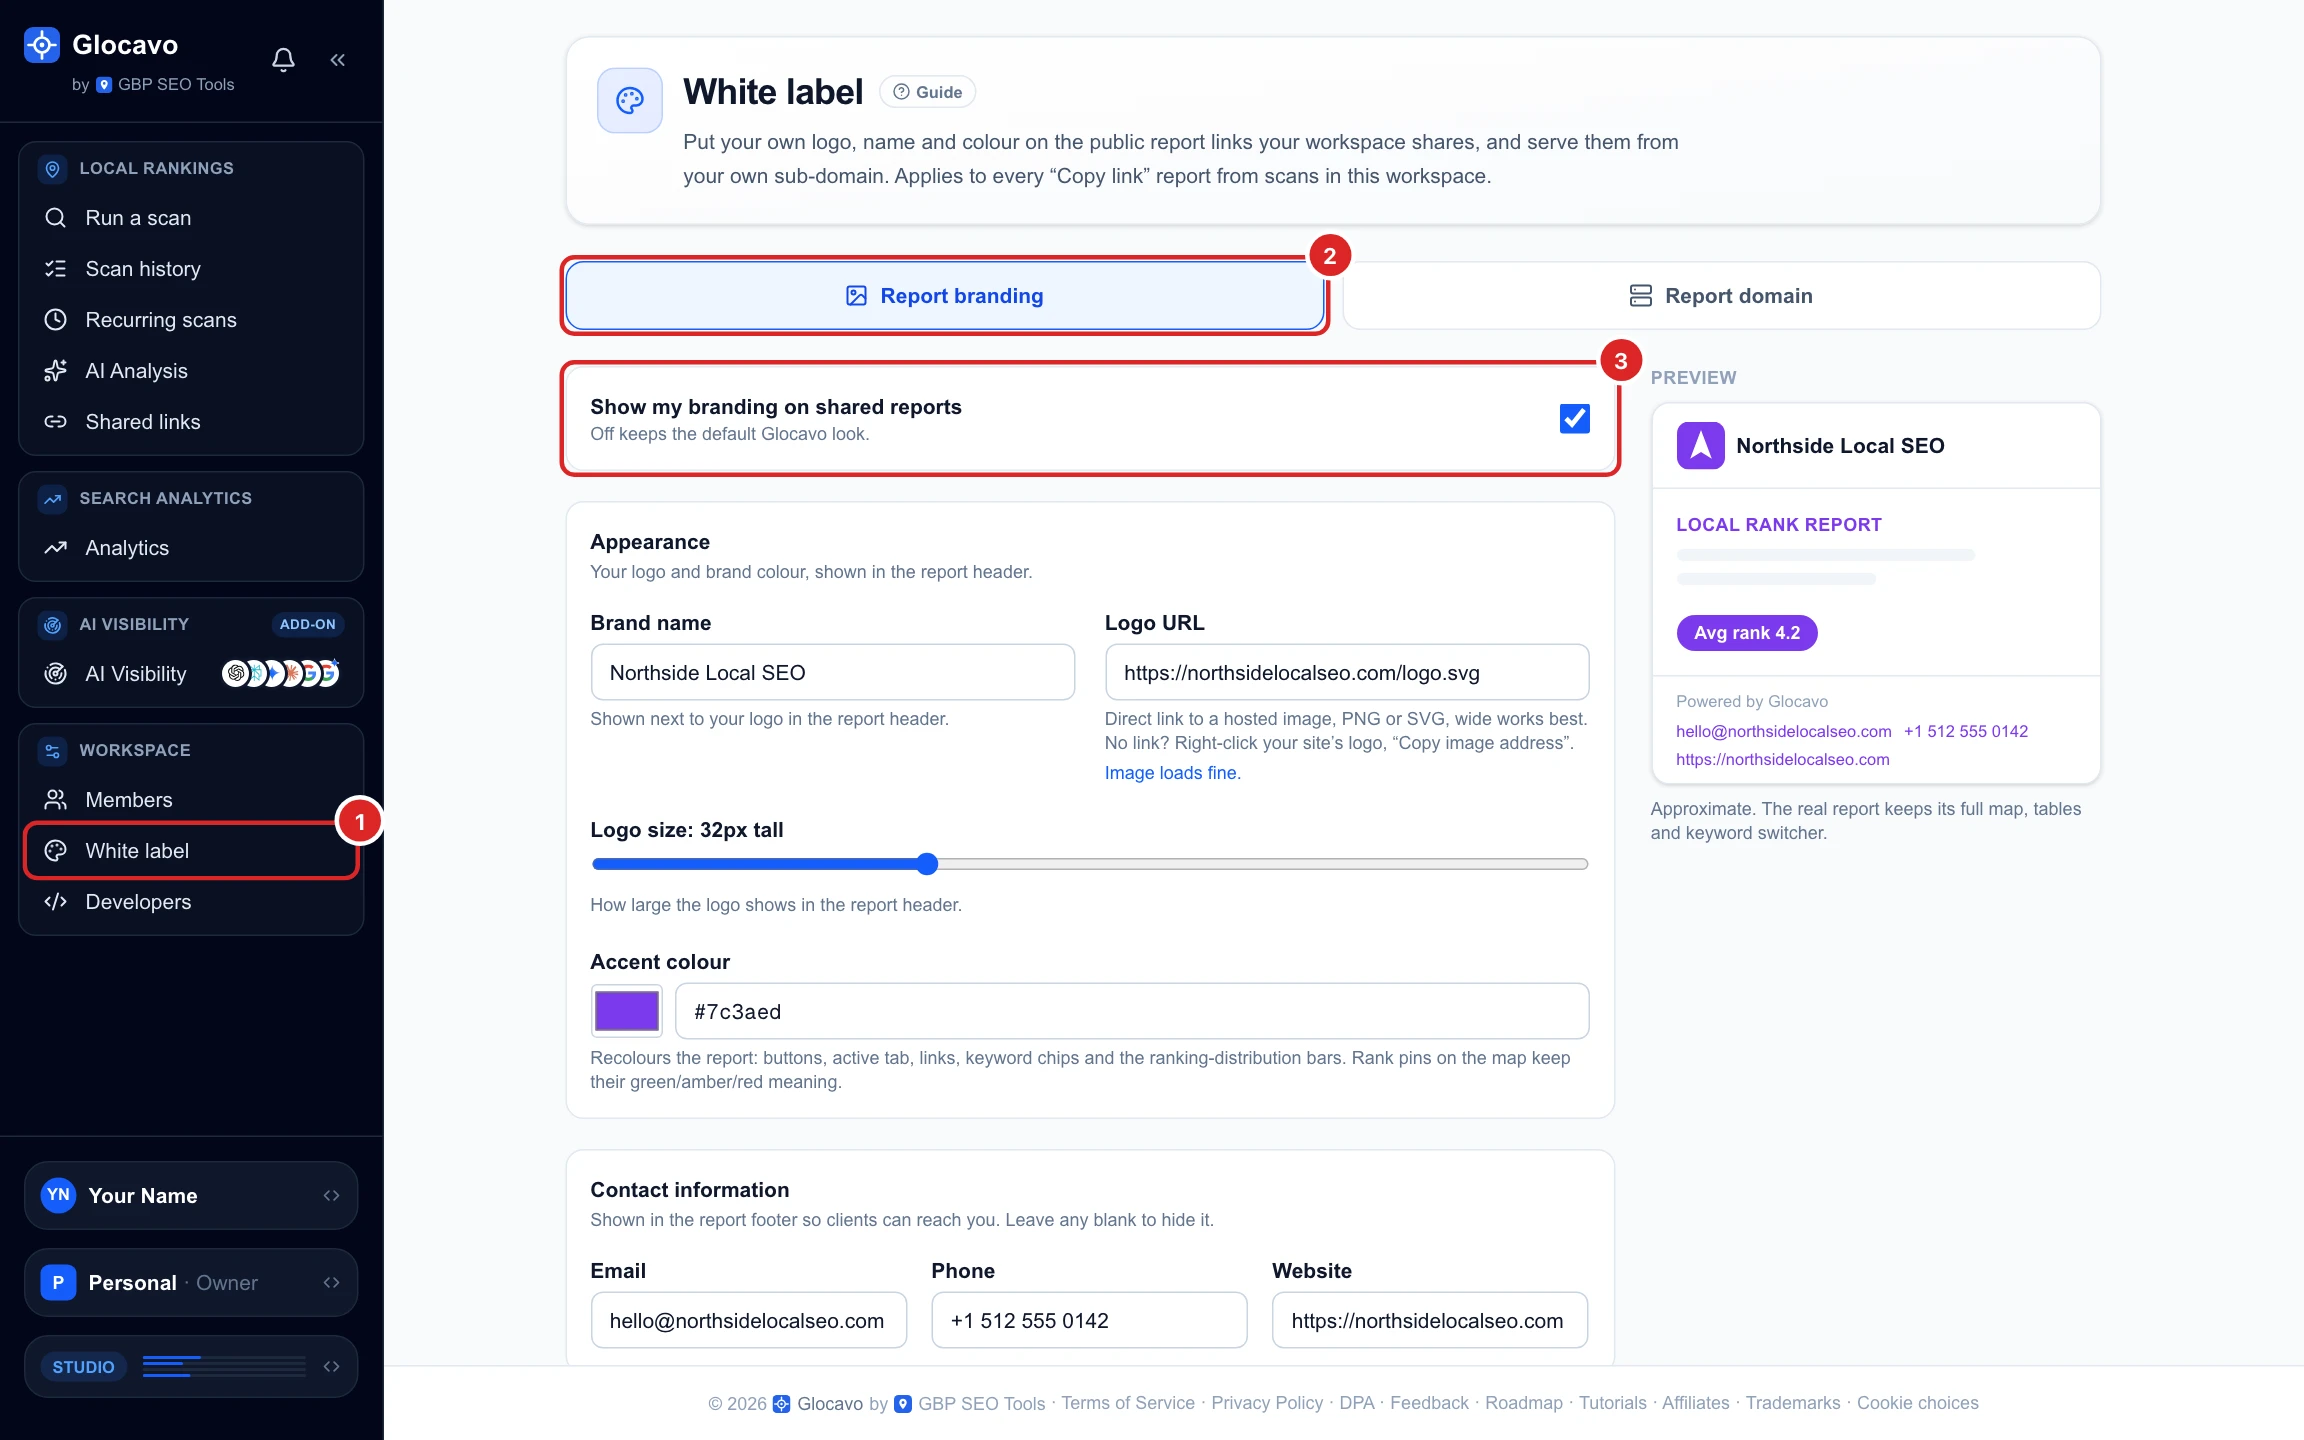
Branding belongs to the workspace. If you run one workspace per client, each can carry different branding, see team and workspaces.
Add your name, logo and colour
Under Appearance:
- Brand name: shown next to your logo, for example your agency’s name.
- Logo URL: a direct link to your logo image, PNG or SVG. On your website, right-click the logo and choose Copy image address. Image loads fine means the link works.
- Logo size: how tall the logo shows, from 16 to 64 pixels.
- Accent colour: pick a colour or type its hex code, for example #7c3aed.
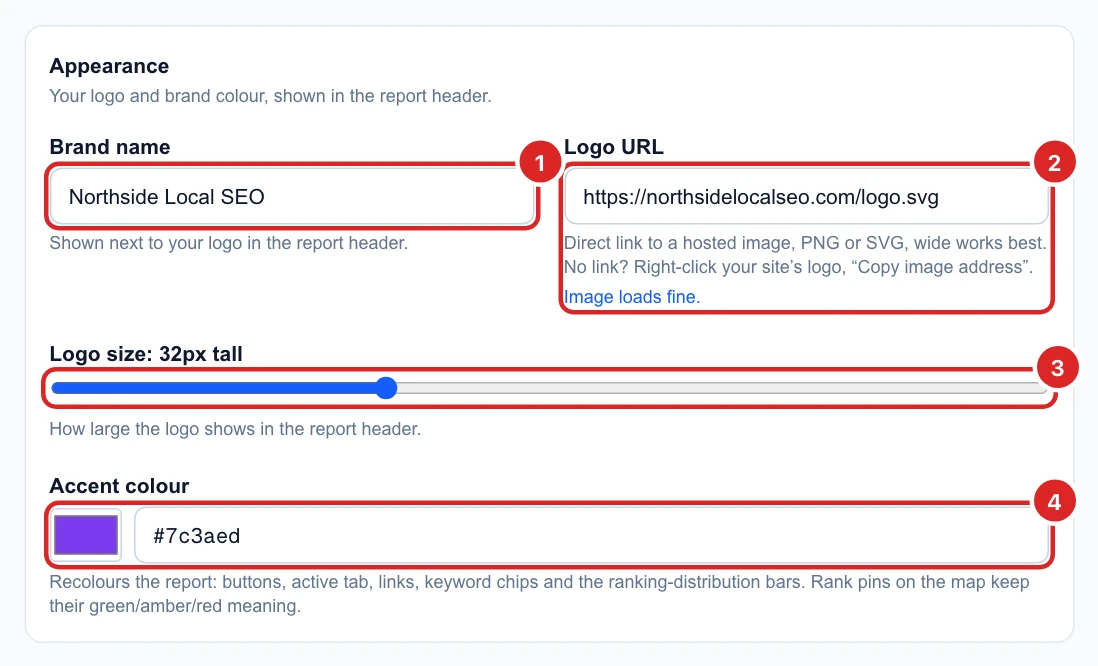
The accent colour changes the buttons, tabs, links and keyword chips. The rank pins on the map keep their usual colours, so a client still reads a good or bad rank at a glance.
Check the preview
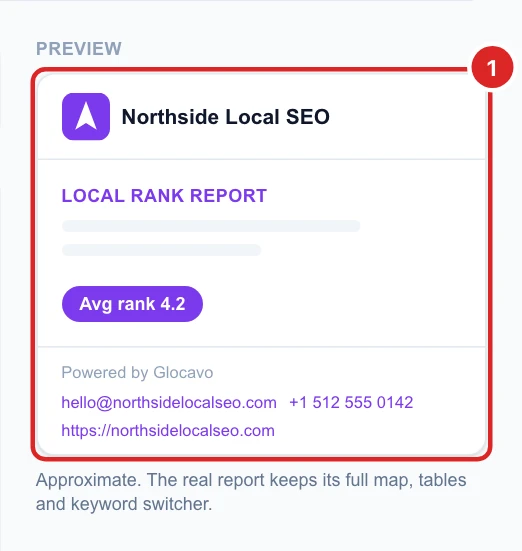
Preview, on the right, updates as you type. It’s a small version of the report header and footer, so you can see whether the logo size and colour work together.
Add your contact details and save
Under Contact information, add the email, phone and website your clients should use. They show at the bottom of every report. Leave one empty to hide it. Then click Save branding. It turns to Saved once your changes are stored.
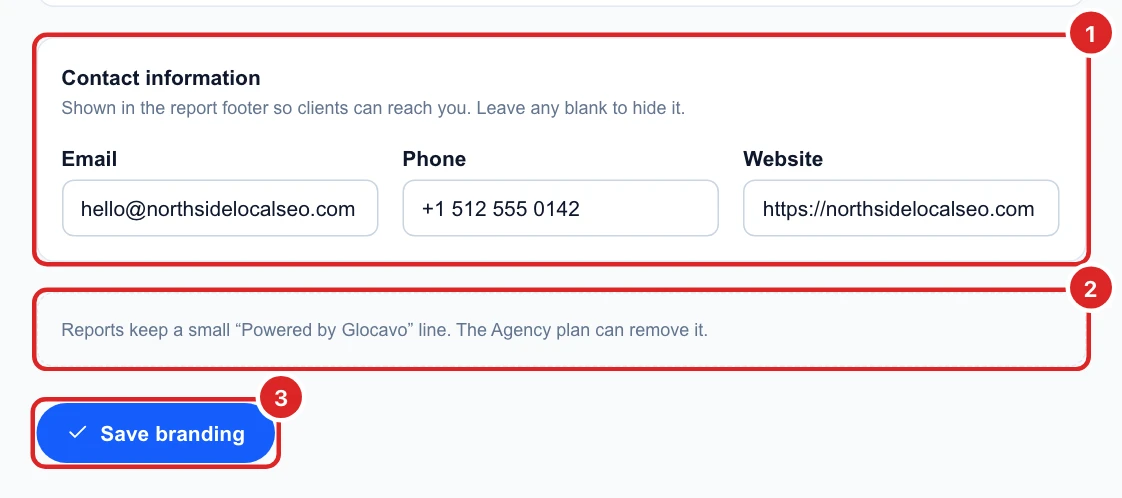
Studio reports keep a small “Powered by Glocavo” line at the bottom. On the Agency plan you can tick Remove “Powered by Glocavo” instead, and the line shows © and your brand name.
See what your client sees
Share a report as usual, with Copy link or Share selected keyword, see share and export a report. Your client opens it with your branding, no login needed. Links you shared before you saved show the new branding too.
Put reports on your own domain
Reports still open on glocavo.gbpseotools.com. To have them open on your own address, for example reports.youragency.com, set up a custom report domain on the Report domain tab.