White label
Set up a custom report domain
Point your own sub-domain (reports.youragency.com) at Glocavo so shared rank reports open under your brand, with no Glocavo app around them and no login screen.
Updated October 11, 2026 · 4 min read
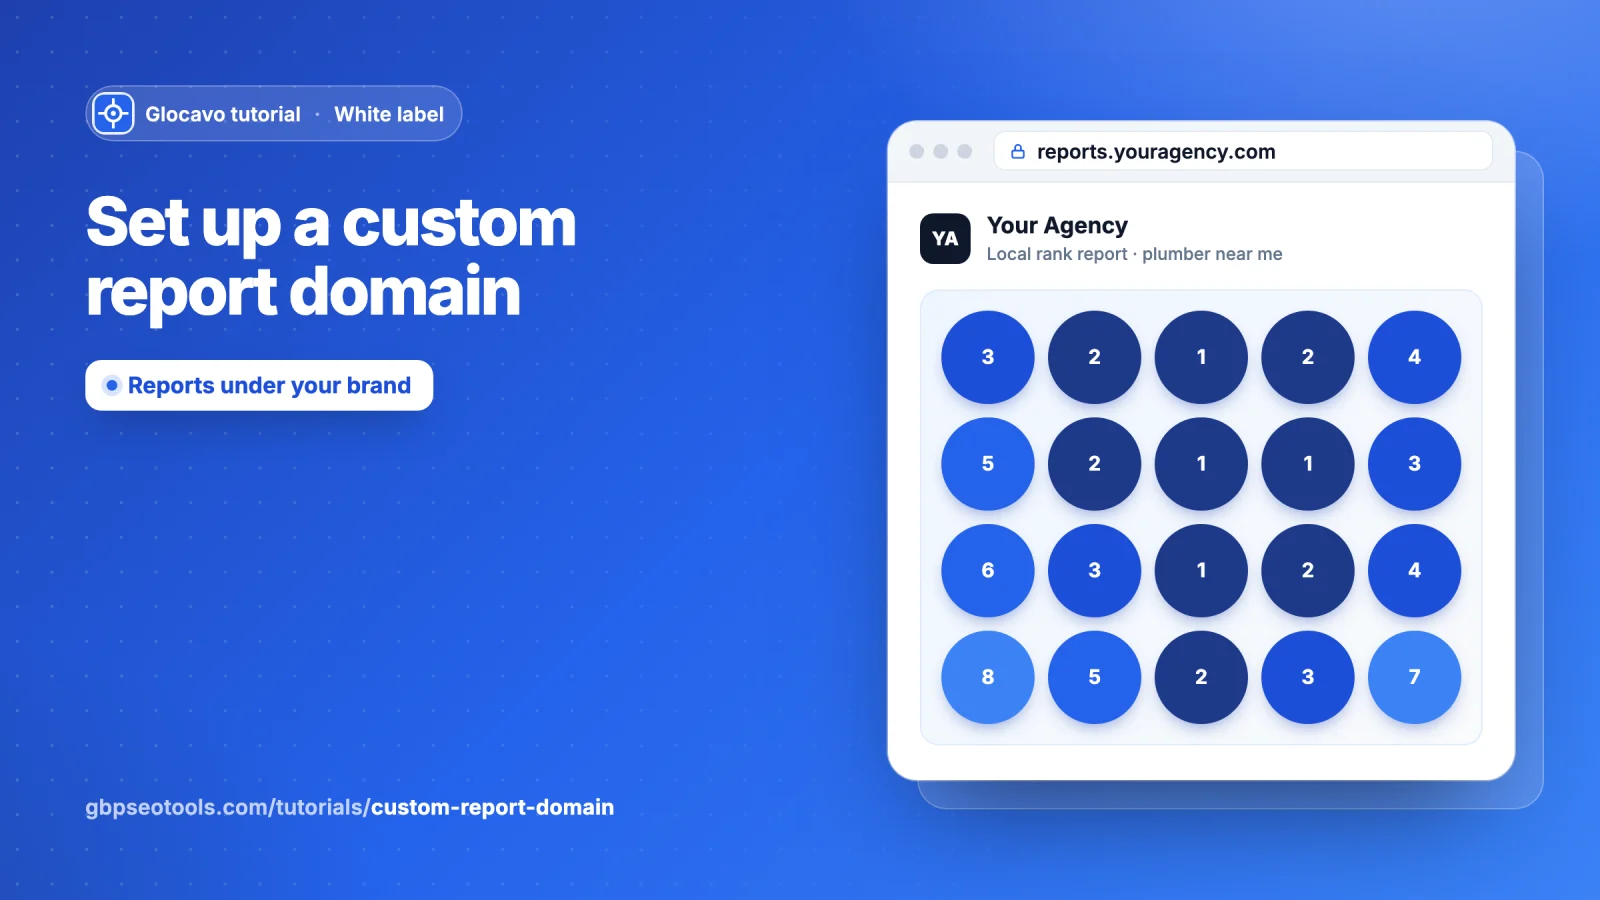
By default a shared report opens on glocavo.gbpseotools.com. With a custom report domain the same report opens on your own sub-domain instead, for example reports.youragency.com, with your logo and colours and none of the Glocavo app around it. Your client never sees Glocavo and never hits a login screen.
- Where
- Glocavo → White label → Report domain.
- Who
- The workspace owner, on the Studio or Agency plan.
- You need
- A domain you control and access to its DNS records (GoDaddy, Cloudflare, Namecheap, your host, and so on).
- Time
- About 5 minutes of setup, then DNS usually verifies within a few minutes (up to an hour).
Set your branding first
Your clients see your logo, name and colour on the custom domain, so set them up before you hand out links. See brand your reports.
Enter your sub-domain
Open White label and click the Report domain tab. Type the sub-domain you want reports to live on, for example reports.youragency.com, then click Connect domain.
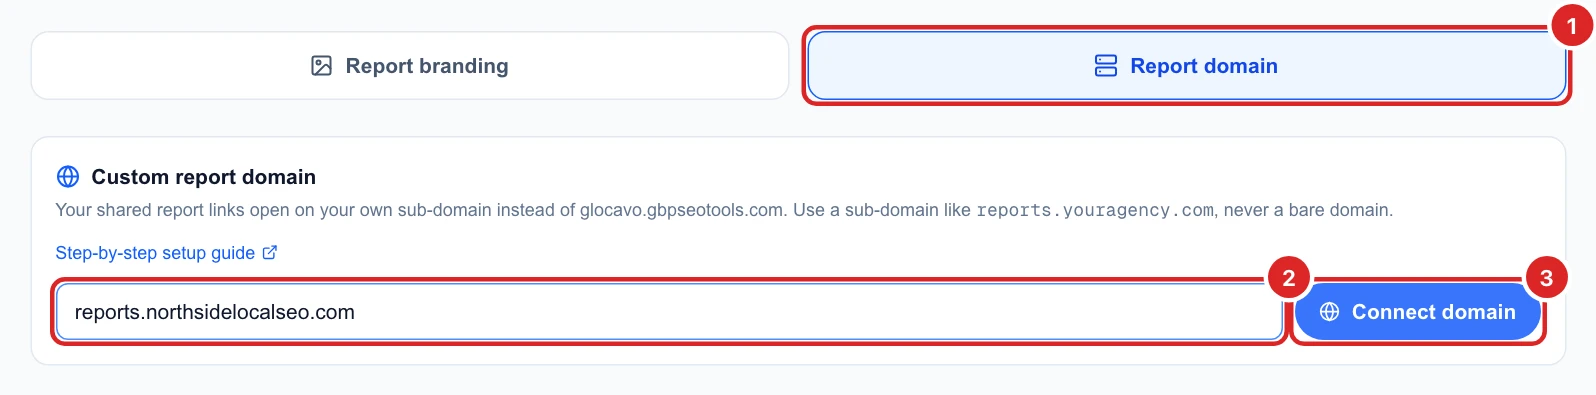
- Use a sub-domain (
reports.,rankings.,go.), never a bare domain likeyouragency.com: a bare domain cannot be pointed at Glocavo with a CNAME. - One custom domain per workspace. You can remove it later from the same card.
Add the DNS record at your provider
The card now shows the record to add, usually a single CNAME. Log in to wherever your domain’s DNS is managed and add it exactly as shown:
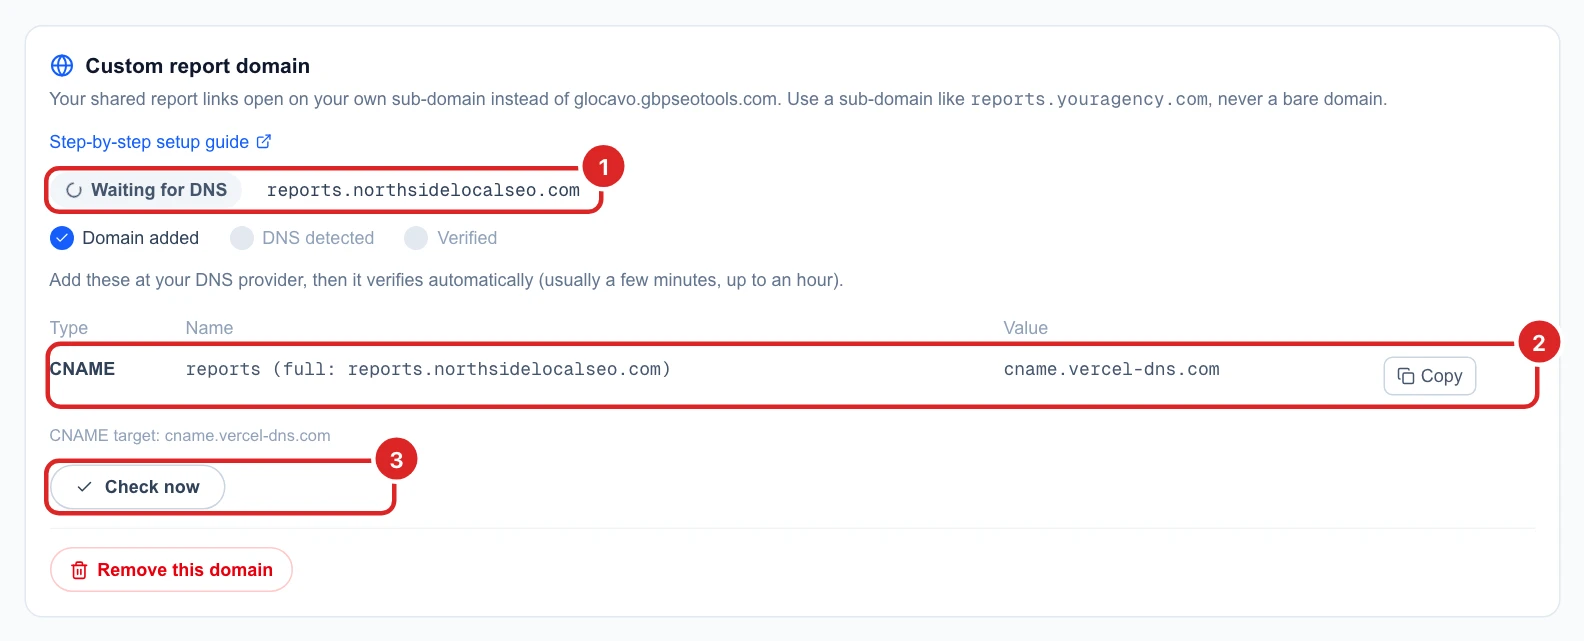
- Type:
CNAME - Name / Host: the sub-domain label, for example
reports. Some panels want just the label, some want the fullreports.youragency.com: the table shows both. - Value / Target: the value in the table (
cname.vercel-dns.com). Use the Copy button so there is no typo. - TTL: leave the default (1 hour is fine).
If the table also shows a TXT row, add that one too. It proves you own the domain and can be removed once the status reads Verified.
Cloudflare users: set the record to DNS only (grey cloud), not Proxied. A proxied record breaks the certificate check.
Wait for it to verify
The status starts at Waiting for DNS. It checks again by itself every few seconds for about two minutes; after that, click Check now whenever you like. Once your DNS change has spread and the certificate is issued, the status changes to Verified and all three steps are ticked: Domain added, DNS detected, Verified.
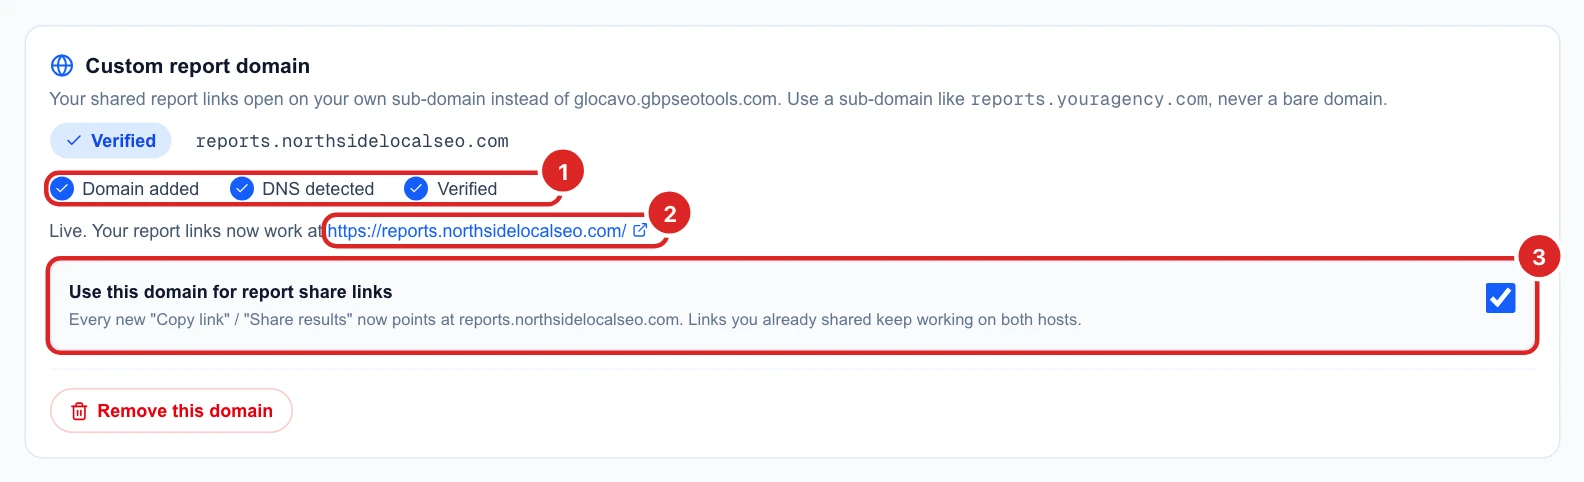
Most providers update within a few minutes; an hour is the realistic worst case. You can close the page and come back: nothing is lost.
Share a report on your domain
Once the domain is verified, Use this domain for report share links is on. Every new Copy link from this workspace then points at your domain, for example https://reports.youragency.com/<id>. Send it to your client as is: the full report with your logo and colour, no Glocavo app around it and no login.
- Links you shared before keep working, on both addresses. To turn an old link into one on your domain, swap
glocavo.gbpseotools.com/audit-reportfor your domain and keep the id. - Untick the setting to go back to
glocavo.gbpseotools.comlinks without removing the domain.
If it will not verify
- Check the record Type is CNAME and the Value matches the table character for character.
- Make sure you added it to the same domain you typed into Glocavo, in the right DNS zone.
- On Cloudflare, switch the record to DNS only (grey cloud).
- Give it more time: some registrars are slow. If it is still not verified after an hour, contact support.
Next
See what goes into the grid reports your clients will open in how our Google Maps rank tracker works, or pull the same data into your own client dashboard with a key from Create a Glocavo API key.