Analytics
Change your Analytics campaign settings
Rename a campaign or change its website, set how often and how deep it checks your Google rankings, choose the defaults for new keywords, pause it or delete it.
Updated October 10, 2026 · 4 min read
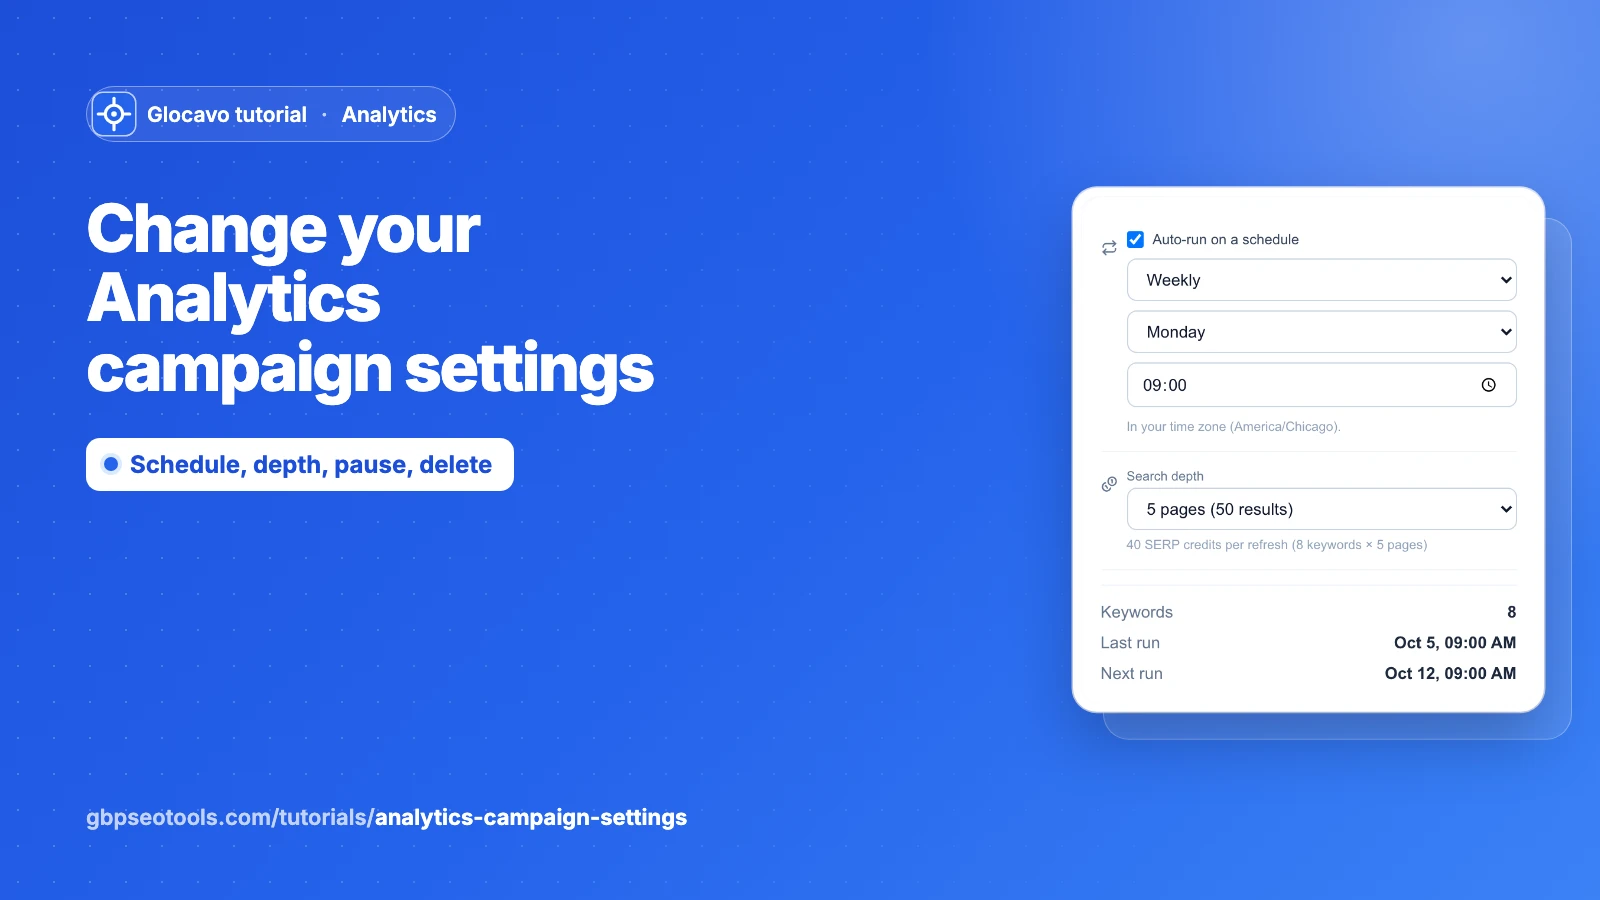
Settings is where you change a campaign after creating it: its name and website, how often it checks your rankings, how deep it looks in Google, and what new keywords start with. It’s also where you pause a campaign or delete it.
The screenshots use a made-up website, yourbusiness.com.
- Where
- Analytics → a campaign → Settings.
- Cost
- Changing settings is free. The schedule and search depth decide how many credits each check uses.
Open Settings
Open a campaign and click Settings. The left card holds the campaign’s settings, with Delete and Save changes under it. The right card is the Search Console connection.
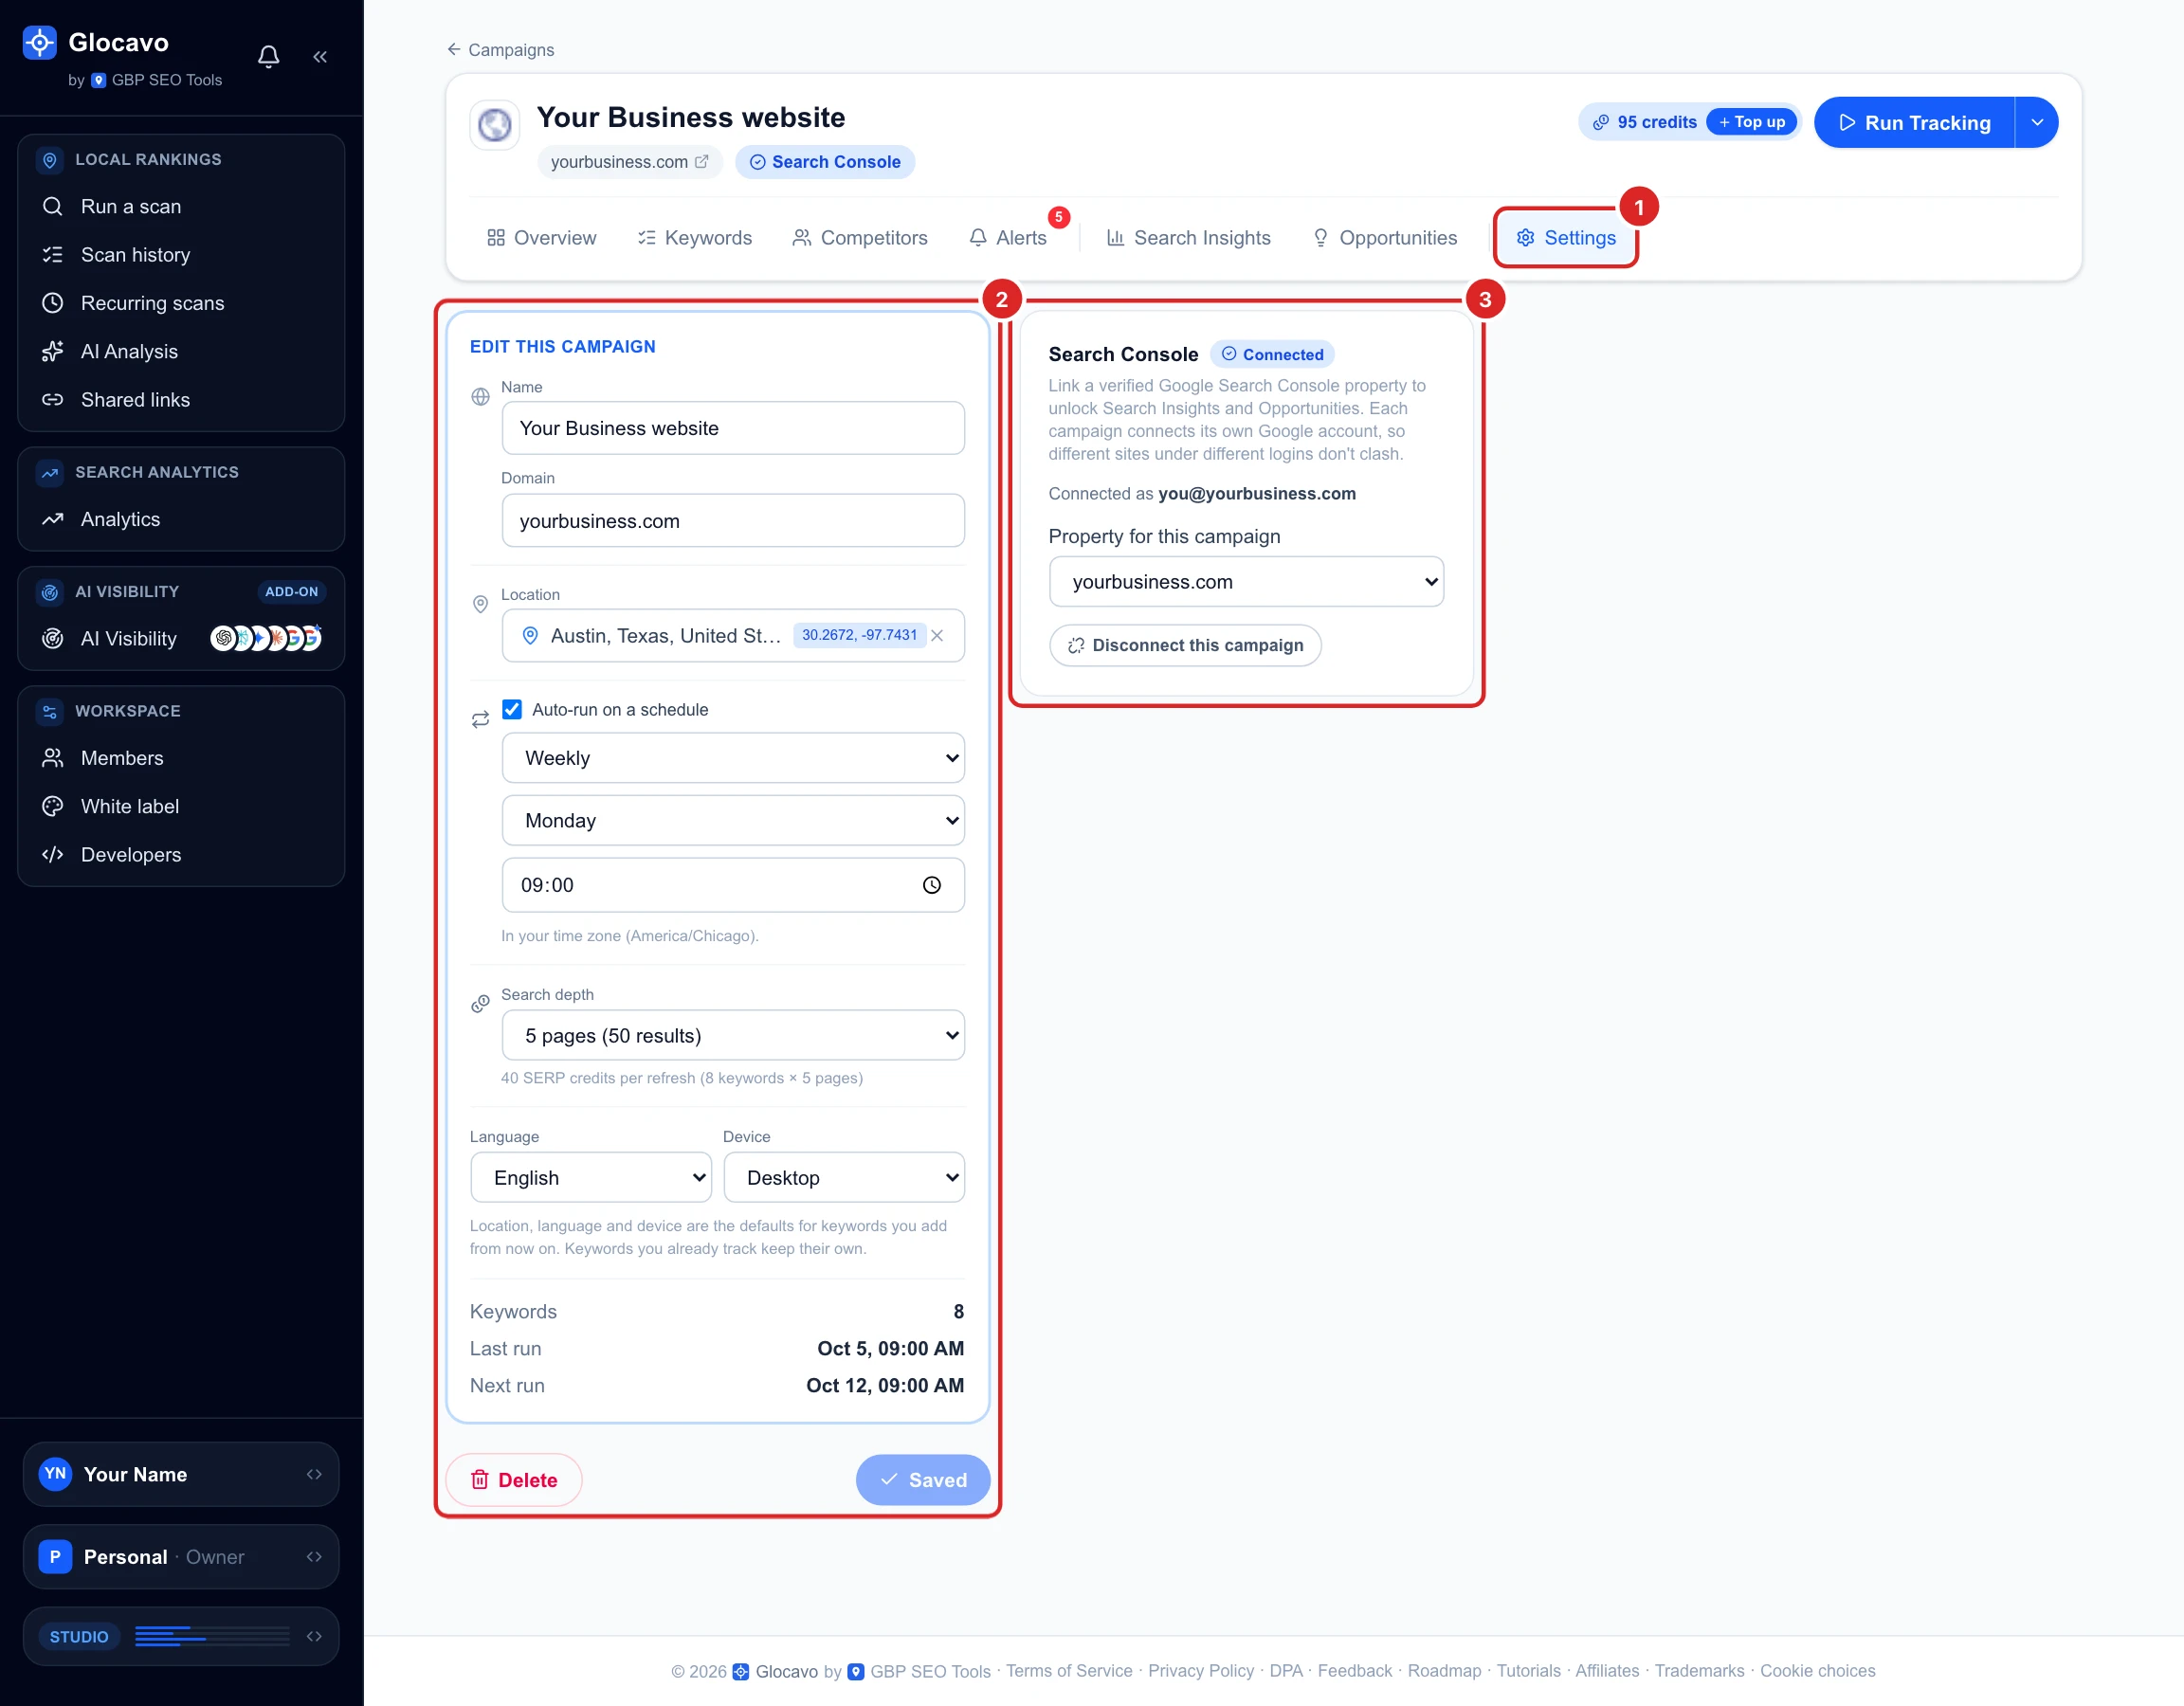
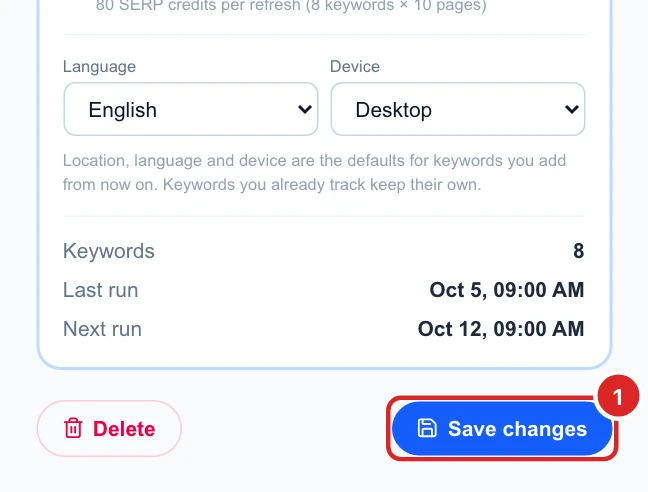
Nothing changes until you click Save changes. The button reads Saved when there’s nothing new to save.
Rename the campaign or change its website
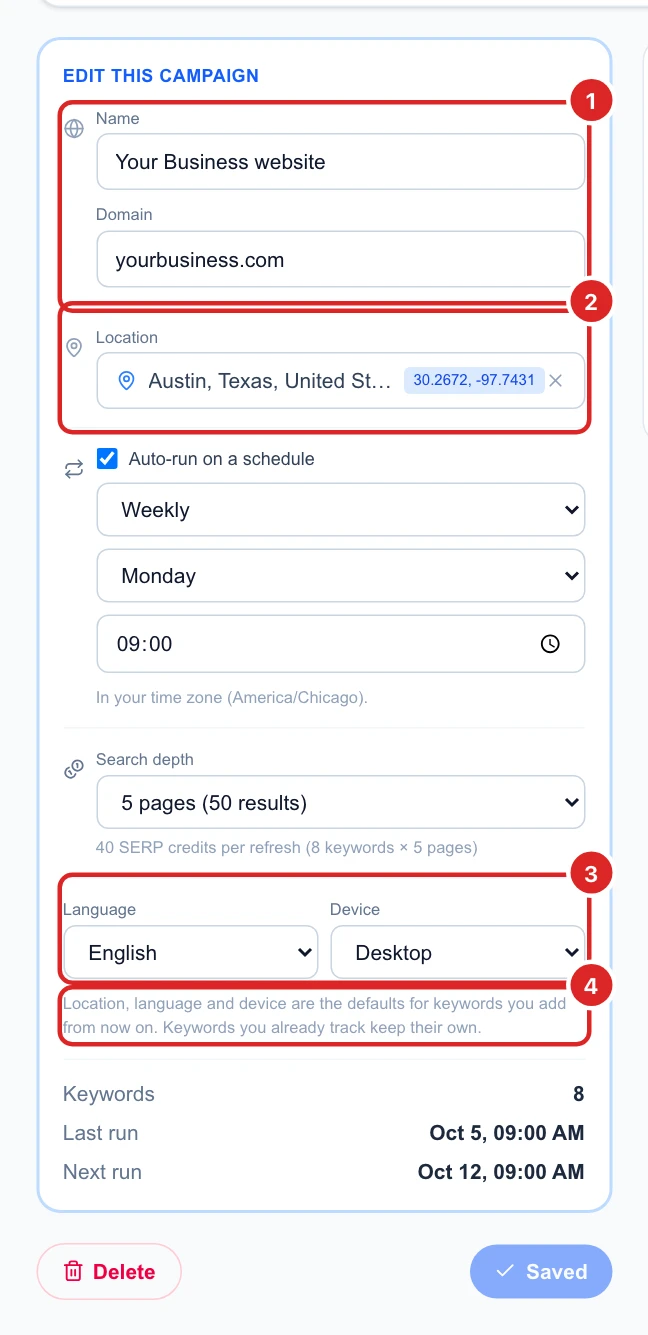
Name is only for you: it’s how the campaign appears in your list. Each of your campaigns needs a different name.
Domain is the website Glocavo looks for in Google’s results. Change it if your site moved to a new address. From the next check on, your rank is the new domain’s position. Past checks stay as they were.
Set the defaults for new keywords
Location, Language and Device decide where Google is searched from, in which language, and on a computer or a phone.
They’re the starting values for keywords you add from now on. Keywords you already track keep the location, language and device they were added with, so their ranking history stays comparable. To check a keyword from somewhere else, add it again in the Keywords tab and pick the new location there.
Change how often it checks
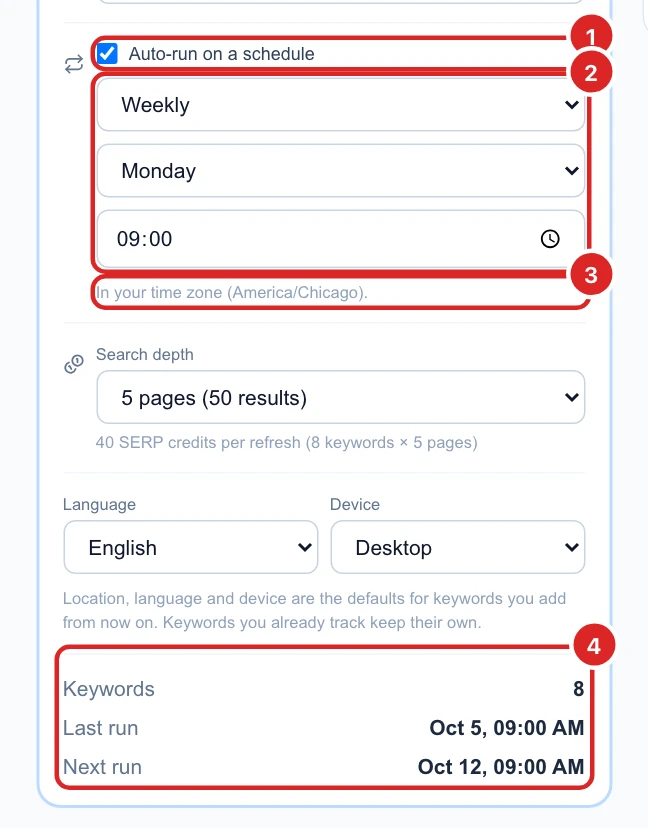
With Auto-run on a schedule ticked, Glocavo checks every keyword of the campaign on its own:
- Daily, Weekly on the day you pick, or Monthly on a day from 1 to 28.
- At the time you set, in your own time zone, shown under the time.
Next run at the bottom of the card shows when the next check happens.
Every check costs credits, so a daily schedule uses about 30 times more than a monthly one. Weekly is enough for most local businesses: rankings rarely change much in a day.
Choose how deep to look
Search depth is how many pages of Google results each check reads: 1 page (the top 10), 5 pages (top 50) or 10 pages (top 100). A keyword ranking deeper than that shows -- instead of a rank.
The line under it shows the cost of one check: keywords × pages. In the example, 8 keywords at 10 pages is 80 SERP credits per check.
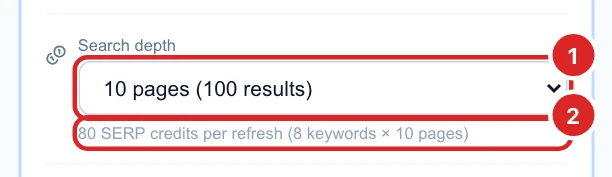
Pick 1 page if you only care about the first page, 5 for most campaigns, and 10 only for new keywords you expect to start far down. See how SERP credits work.
Save your changes
Click Save changes. A new schedule takes effect right away, and Next run updates to match.
Pause a campaign
Untick Auto-run on a schedule and click Save changes. The campaign stops checking on its own and Next run reads Paused. Nothing is deleted: keywords, history and competitors all stay.
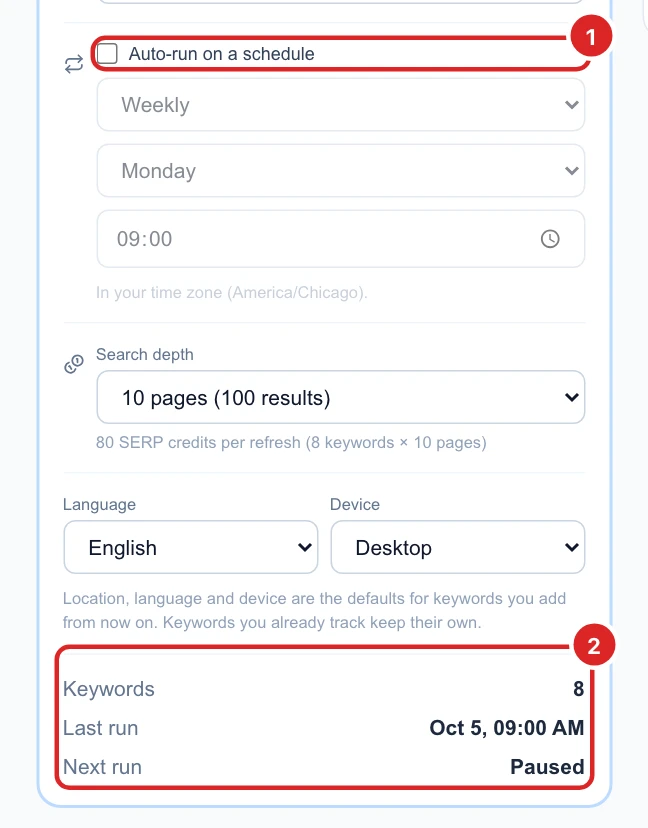
A paused campaign uses no credits on its own. You can still check it by hand with Run Tracking at the top. Tick the box again and save to resume.
Connect Search Console
The Search Console card links the campaign to your Google Search Console, which unlocks Search Insights and Opportunities. See how to connect Search Console.
Delete a campaign
Click Delete, then Delete campaign to confirm. The campaign is gone for good, with its keywords, ranking history and competitors, and its place in your plan is free for a new one.
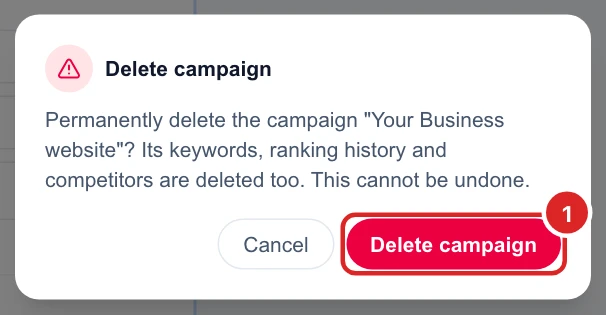
Deleting can’t be undone. If you might need the history later, pause the campaign instead.